Turn a plain paper plate into a beautiful work of art to hang in your windows or on your wall this winter.
You will need:
- Paper plates
- Paper
- Shades of blue craft paint
- Glue stick
- Hole puncher
- Pencil
- Scissors
- Blue glitter
- Blue twine
Method:
- Before you can begin making your paper plate snowflake you will need to prepare your supplies. As well as the list of supplies above you will need a piece of paper that has been cut into a circle the same size as your paper plate.
- Fold the paper circle in half three, four or five times to make a triangle shape. Make small cuts along the sides and top of the paper being careful not to completely cut the snowflake into pieces. You will need to make sure some parts of each edge remain in tack. Open the paper up and you will have created a unique paper snowflake.
- Take the paper snowflake that you have made and trace it onto a paper plate. Younger children may need a bit of help holding the snowflake still as they draw around it.
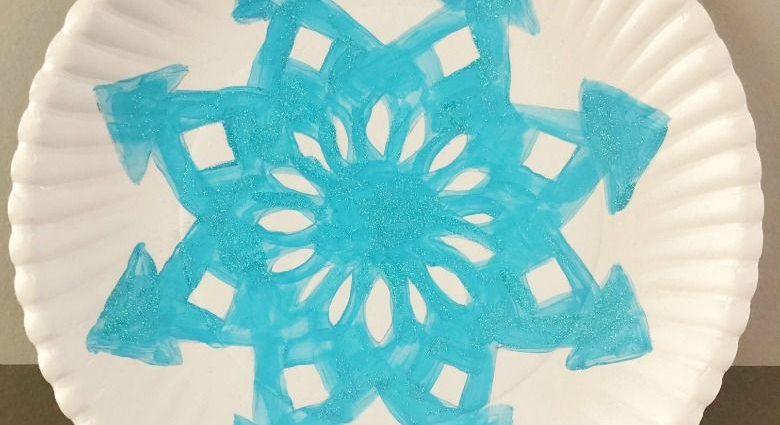
- Now it is time to carefully paint inside the outline of the snowflake that you have just drawn. You could use any colour to do this, but I love the idea of sticking to shades of blue so you get that icy cold feeling when you look at it!
- Your snowflake craft is almost complete now, but if you would like to add a bit of glitz to your snowflake now is the time! Add a little glue onto your blue paint and cover it with glitter. Blue glitter works well, as would silver.
- To complete your snowflake art punch a hole on the top of the paper plate and tie a piece of blue twine through the hole to make a loop.